Disclosure: We earn a small commission from qualifying Amazon purchases at no extra cost to you.
Here is how to mount Goal Zero Boulder 100 on rooftop tent for overlanding in one weekend: bolt the panel's pre-drilled aluminum frame to your roof rack crossbars (or directly to the RTT base rails) using four M6 stainless steel bolts, aluminum L-brackets, and rubber isolation washers. The Boulder 100 weighs about 25.9 lbs and measures 40 x 26.75 inches, so it sits neatly along the front or rear lip of most hardshell or softshell RTTs. Route the 8mm output cable through a weatherproof grommet, feed it into an MPPT charge controller, and angle the bracket 15–30° for optimal gain when parked.
When shopping for how to mount goal zero boulder 100 on rooftop tent for overlanding, it pays to compare specs, capacity, and real-world runtime before committing.
Below is the full 2026 walkthrough — hardware list, drilling pattern, wiring path, and the backup power banks I keep in the truck for the nights and shaded camps when the panel is not earning its keep.
Why permanently mount the Boulder 100 on your RTT
Most overlanders start with a portable, folding panel they set up at camp. That works until you arrive at a shaded site, a windy ridge, or a five-night basecamp where you genuinely do not want to redeploy gear every morning. A permanently mounted Boulder 100 trickle-charges your auxiliary battery the entire time you drive, harvests sun while you hike, and never blows off the picnic table. The rigid aluminum frame and tempered glass front were engineered for exactly this — Goal Zero rates it for sustained highway speeds when bolted down properly.

The trade-off is roughly 26 lbs on the roof plus brackets, slightly higher wind noise, and the need to drill into your roof rack or RTT base. Done right, it adds five to seven amps of continuous charging in full sun, which is enough to run a 12V fridge indefinitely on most overland builds.

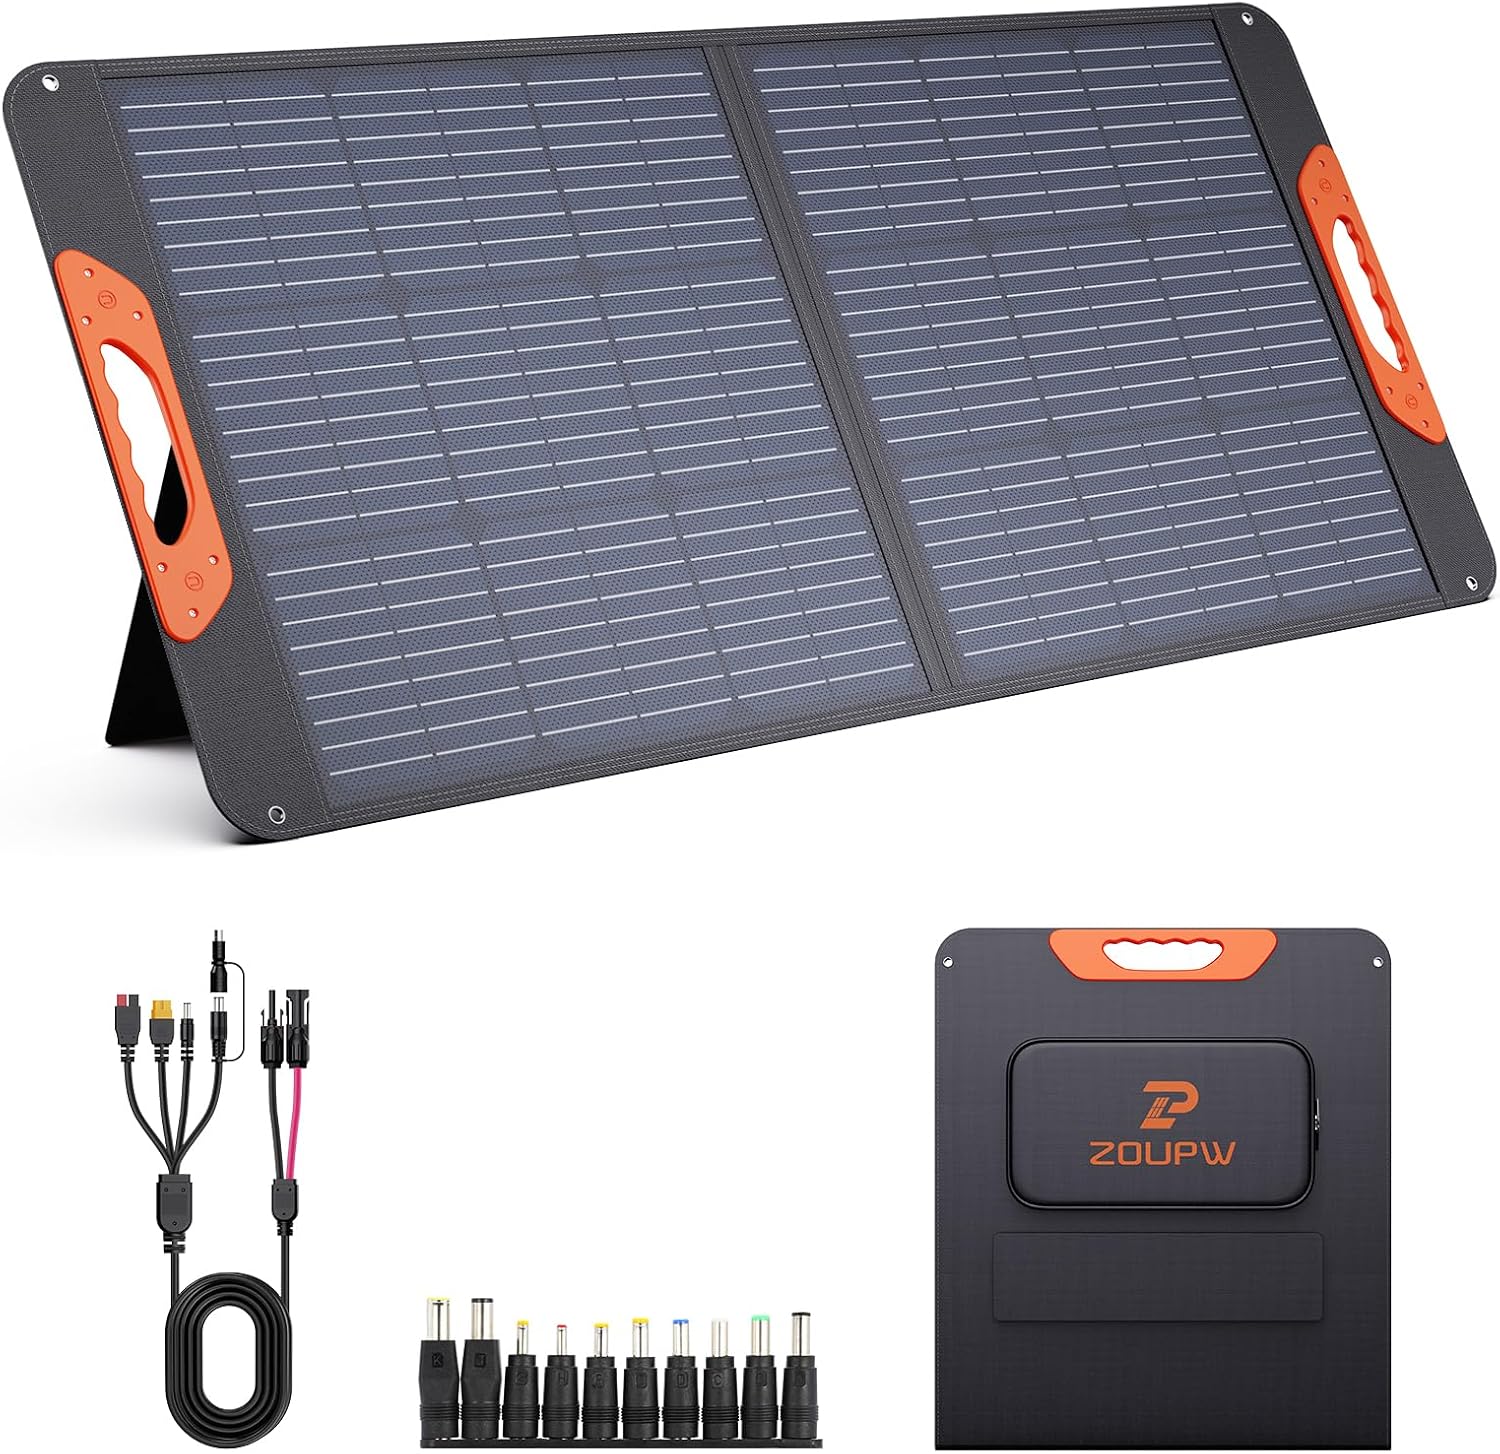
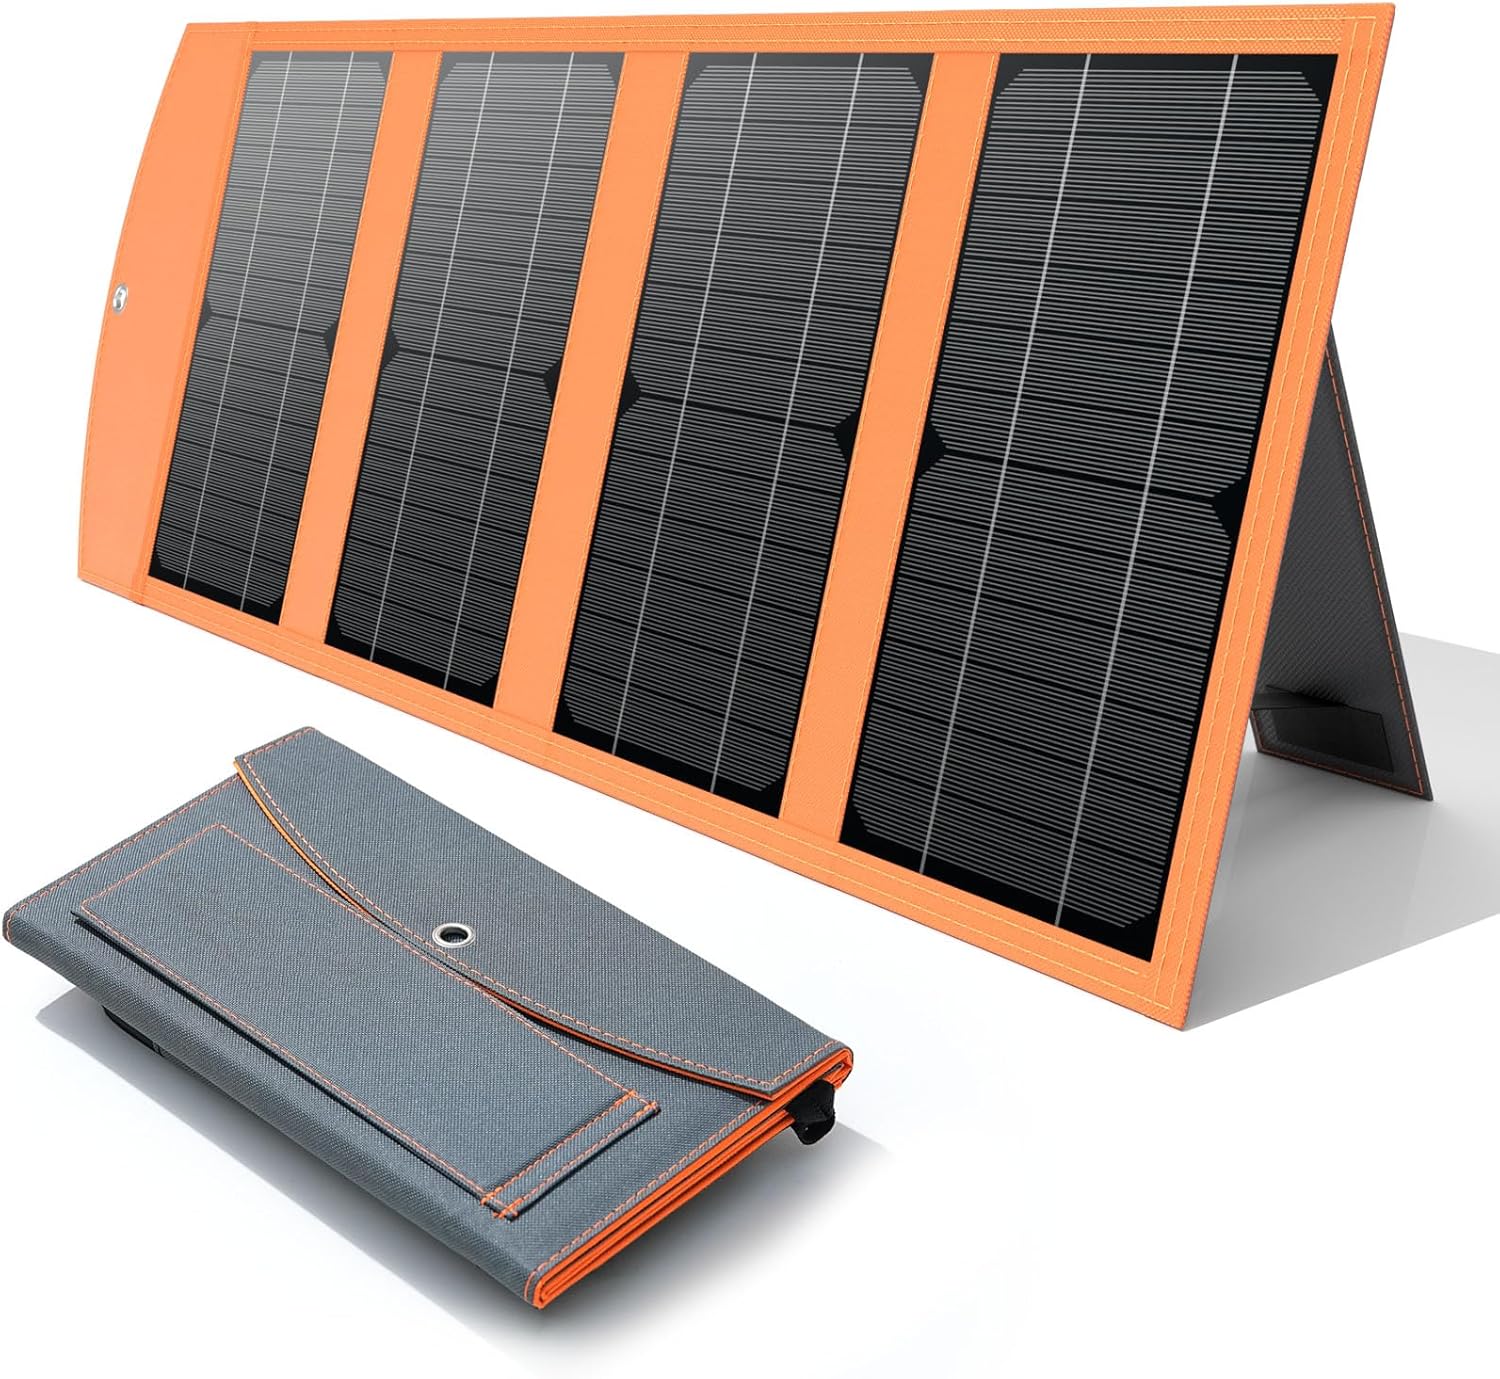
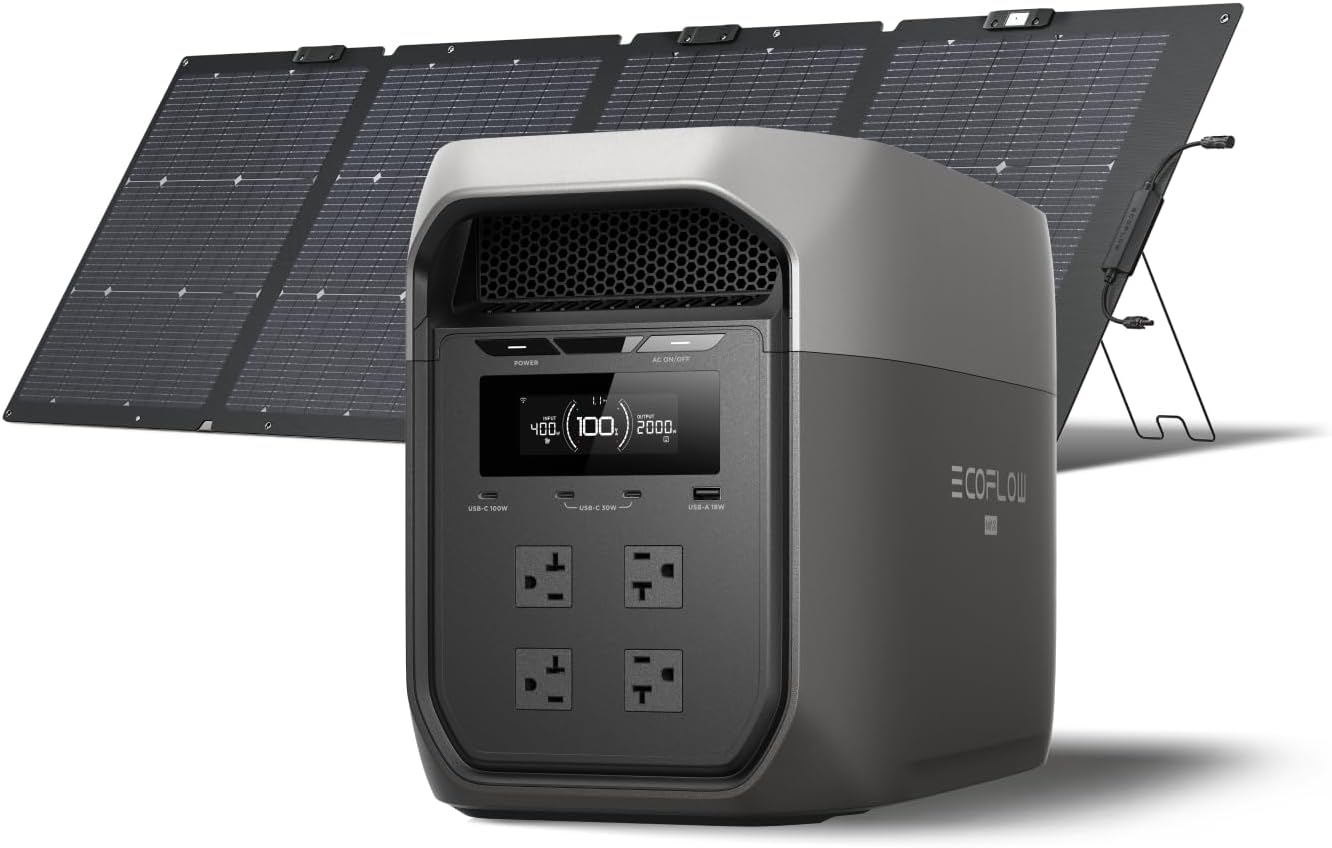
EF ECOFLOW 400W Portable Solar Panel, Foldable & Durable, Complete with an Adjustable Kickstand Case, Waterproof IP68 for Outdoor Adventures
- 400W high-output bifacial design
- 23% front + rear cell efficiency
- Foldable with IP68 waterproofing
Tools and hardware you will need
- 4 × M6 × 25mm stainless steel button-head bolts
- 4 × M6 nyloc nuts, or rivnuts if you are going into hollow rack tubing
- 4 × neoprene or EPDM rubber isolation washers
- 4 × aluminum L-brackets (1/8 inch thick, 2×2 inch minimum), or commercial Z-brackets for a stealth profile
- Cordless drill, 6.5mm bit, deburring tool
- Marine-grade sealant such as Sikaflex 291 or 3M 4200
- Rubber grommet sized to your cable diameter
- 10AWG MC4-to-Anderson Powerpole adapter (convert at the panel, not the controller)
- Inline 15A fuse within 12 inches of the battery
- Compatible MPPT charge controller (Victron 75/15 is the overland standard)
Step-by-step: how to mount Goal Zero Boulder 100 on rooftop tent for overlanding
1. Pick the mounting plane
You have three realistic options: directly on the RTT's aluminum base plate, on top of the closed shell (hardshell tents only), or on roof rack crossbars that sit forward of the tent. The third option is best for airflow and access. Mounting on top of a hardshell RTT looks cleanest but adds opening force every time the tent deploys, so the gas struts must be upgraded. Never mount on a softshell cover — it flexes and will crack the panel within a season.
2. Mark and drill the bracket holes
The Boulder 100 has four factory mounting holes in the frame corners. Set the panel on your chosen surface, transfer the hole pattern with a center punch, and drill 6.5mm clearance holes. If you are going into a hollow rack tube, install M6 rivnuts. If you are going into the RTT base plate, use through-bolts with large fender washers underneath to spread the load. Deburr every hole and seal with marine silicone to prevent corrosion.
3. Install vibration isolators
This step is what separates a panel that survives 50,000 miles of washboard from one that cracks at the first cattle guard. Sandwich a neoprene washer between the bracket and the panel frame, and another between the bracket and the rack. Torque to 8 Nm — snug, not crushing. The rubber absorbs harmonics that would otherwise telegraph straight into the silicon cells.
4. Route the cable
Drop the 8mm output cable through a grommeted hole in your rack or down the rear pillar of the RTT. Avoid sharp 90° bends and keep the cable away from any edge that flexes when the tent opens. Convert to Anderson SB50 connectors near the bumper so you can disconnect for service or upgrades later.
5. Wire through an MPPT controller
Never connect the Boulder 100 directly to a lithium auxiliary battery. The panel's open-circuit voltage hits 22V in cold weather, which will damage 12V LiFePO4 cells. A Victron 75/15 MPPT (or comparable Renogy unit) regulates the voltage and squeezes 20–30% more harvest out of the same panel.
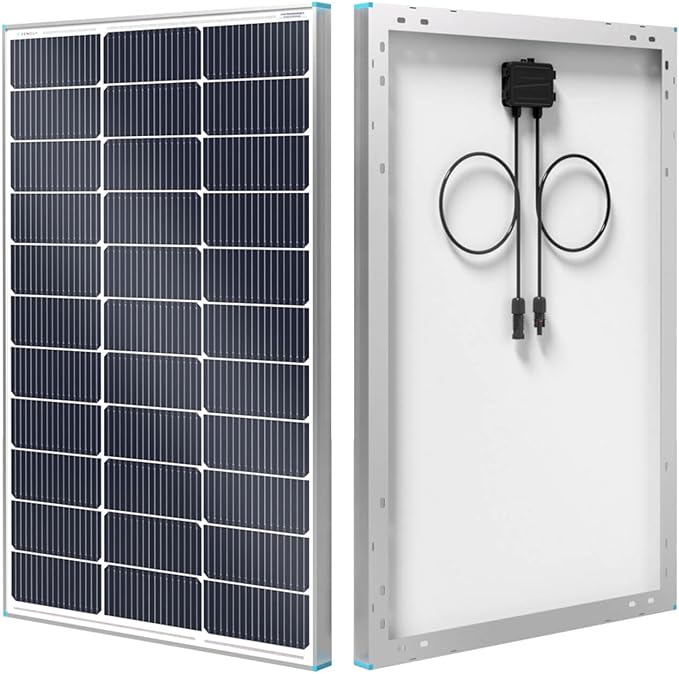
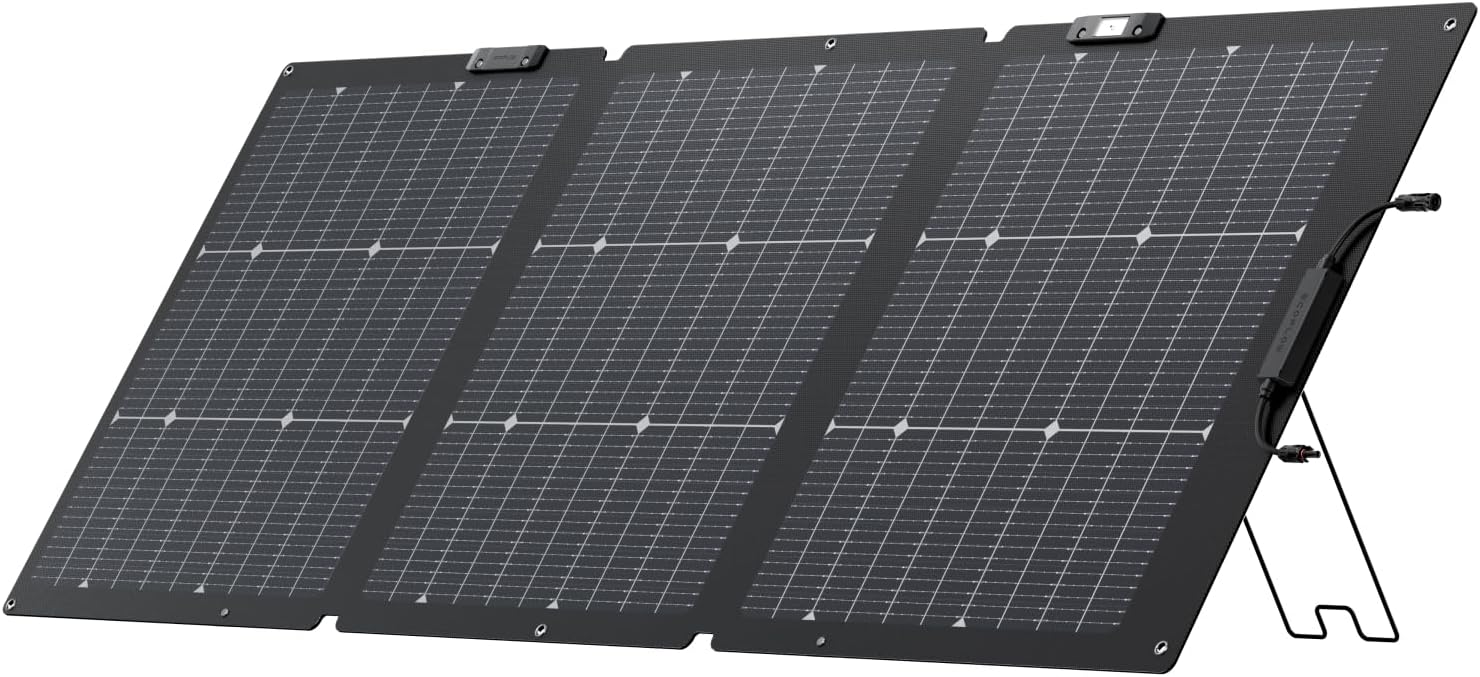
Renogy Solar Panel 100 Watt 12 Volt, High-Efficiency Monocrystalline PV Module Power Charger for RV Marine Rooftop Farm Battery and Other Off-Grid Applications, RNG-100D-SS, Single
- 100W rigid monocrystalline cells
- Corrosion-resistant aluminum frame
- For cabins, RVs, and permanent installs
Backup power banks for overnight and shaded days
Even a perfectly mounted rooftop panel produces nothing at 2 a.m. or under a Doug fir canopy. Every overlanding rig I have built carries one or two large-capacity power banks as a buffer for headlamps, phones, drone batteries, and the inevitable visitor who forgot their charger. These are the five I recommend for 2026.
Best overall companion pack: Nymzixt Solar Power Bank 49800mAh
The Nymzixt is the closest thing to a "set it on the dash and forget it" pack. The 49,800 mAh cell pulls a useful trickle off its own integrated panel between deeper recharges from the Boulder 100, and the wireless pad means you can drop a phone on it inside the tent without fishing for cables. The rubberized shell shrugs off camp dust and the occasional fall onto granite. Check the current price on Amazon.
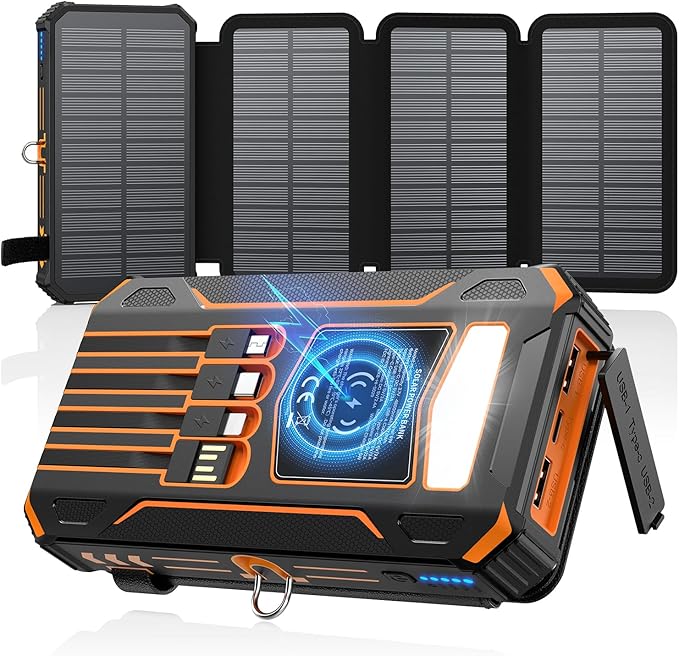
Highest capacity for the price: SOARAISE 48000mAh Wireless
If you regularly travel with three or more people, the SOARAISE is the better value. Same wireless charging, similar form factor, but broader USB-C PD output that will actually push a laptop or Starlink Mini through a slow morning. I keep one in the truck cab and a second in the RTT for night use. See it on Amazon.
Fastest top-up: YELOMIN 38800mAh USB-C PD
The YELOMIN trades a little capacity for genuinely fast 22.5W USB-C PD input and output. That means when you do stop at a campground with shore power, this pack refills in about three hours instead of overnight, ready to ride shotgun through the next bush leg. View on Amazon.
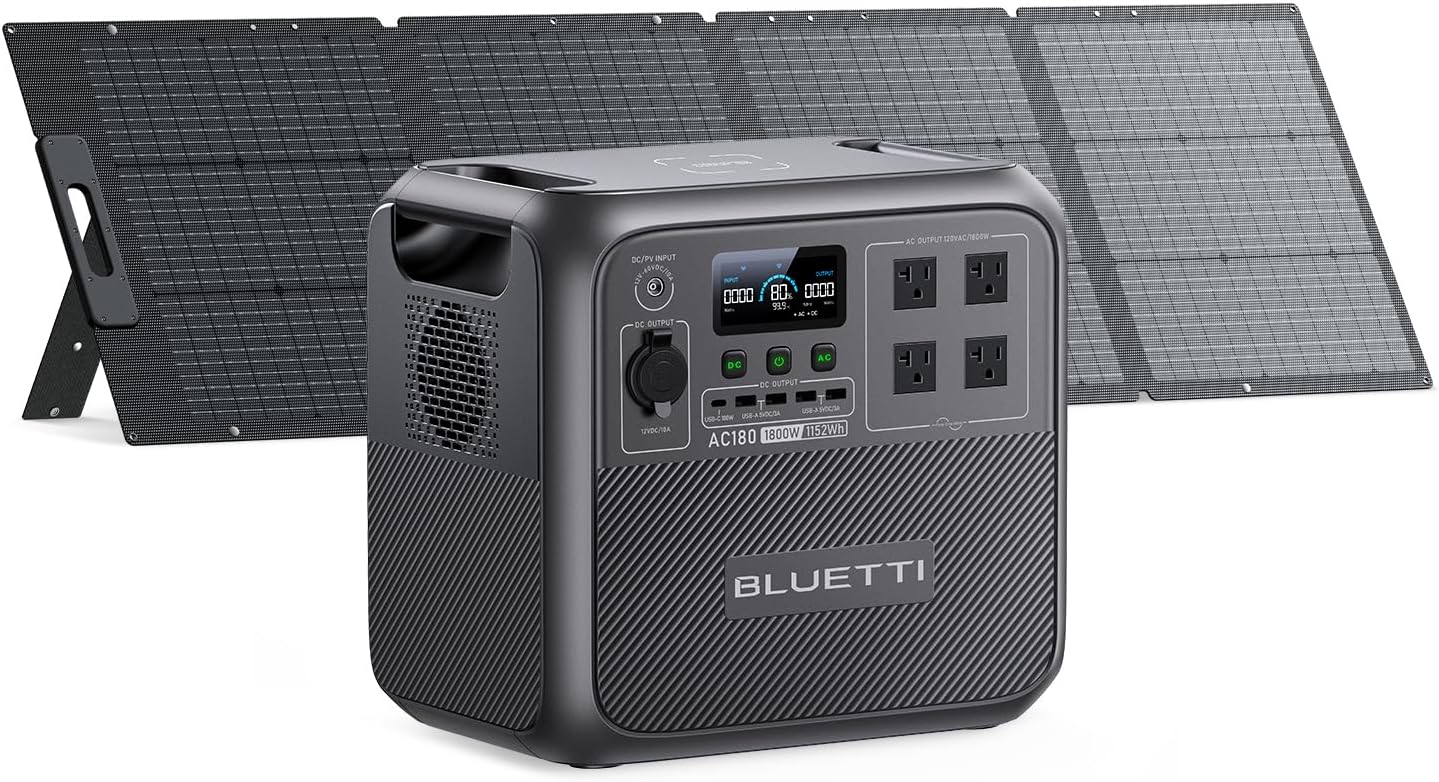
Step up to a real power station: Portable Solar Generator 300W with 60W Panel
If the Boulder 100 is going to feed a fridge, lights, and a CPAP, you want a proper power station between it and your loads, not just a power bank. This 300W kit ships with its own 60W foldable as a redundant secondary input and accepts the Boulder's 8mm output directly. Think of it as your house battery for nights and shaded camps. Check it on Amazon.
Budget glove-box backup: Amazon Basics Power Bank
Not every charge needs a 50,000 mAh monster. The Amazon Basics pack lives in my center console for the times somebody forgot to charge their headlamp before the trip. Lightweight, cheap enough to lose, and reliable. Grab one on Amazon.
2026 comparison table
| Product | Capacity | Best for | Wireless? | Solar input |
|---|---|---|---|---|
| Nymzixt 49800mAh | 49,800 mAh | Daily RTT companion | Yes | Trickle |
| SOARAISE 48000mAh | 48,000 mAh | Group camping | Yes | Trickle |
| YELOMIN 38800mAh | 38,800 mAh | Fast refills | No | Trickle |
| 300W Solar Generator | ~80,000 mAh | Fridge + lights | No | 60W panel included |
| Amazon Basics | 20,000 mAh | Glove-box backup | No | None |
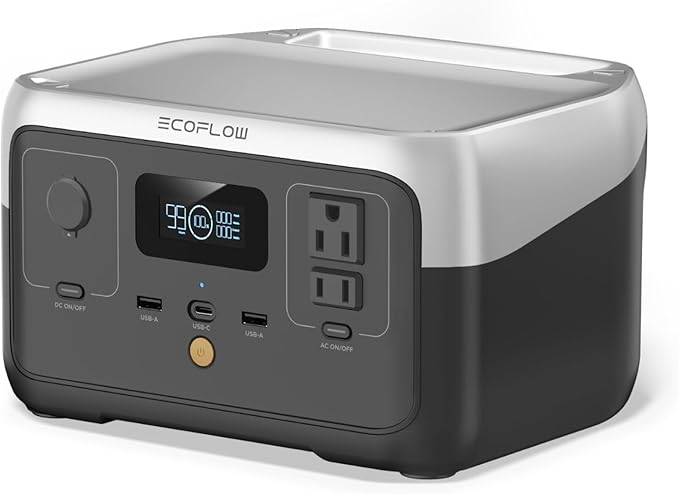
EF ECOFLOW Portable Power Station RIVER 2, 256Wh LiFePO4 Battery/ 1 Hour Fast Charging, 2 Up to 600W AC Outlets, Solar Generator (Solar Panel Optional) for Outdoor Camping/RVs/Home
- 256Wh LFP battery
- 300W AC output (600W X-Boost)
- Ultra-light at 7.7 lbs
Common mounting mistakes to avoid
The three failures I see repeatedly on overland forums in 2026: bolting the panel flat with no rubber isolation (cracks within 5,000 miles of corrugations), running the 8mm cable directly to a lithium battery with no MPPT (warranty void and possibly a fire), and choosing a mounting location that fouls the RTT's gas struts (the tent stops opening and the panel ends up with a foot-shaped dent). Plan the geometry with the tent fully open and fully closed before you drill anything.
For more on planning the electrical side, see our overlanding solar wiring guide and the Goal Zero vs Jackery comparison for overland rigs.
Frequently Asked Questions
Can I mount the Boulder 100 directly on a softshell rooftop tent cover?
No. Softshell covers flex when the vehicle moves and when wind loads the panel. Tempered glass and silicon cells do not tolerate that flex — you will see micro-cracks within weeks. Always mount to a rigid surface: roof rack crossbars, the RTT's aluminum baseplate, or the shell of a hardshell tent.
Will the Boulder 100 charge my auxiliary battery while I am driving?
Yes, as long as it is wired through an MPPT controller to your battery system. At highway speeds with full overhead sun, expect 4–6 amps of charging — about 60–80 Wh per hour of driving. Cloud cover and shading from your own roof rack will reduce that significantly, so do not size your battery bank on driving hours alone.
What is the best angle for a roof-mounted solar panel when overlanding?
Flat (0°) is best for driving — minimizes drag and lift. When parked, 15–30° tilted toward the sun nearly doubles output in winter and at high latitudes. Some overlanders build adjustable Z-brackets with quick-pin locks; others simply unbolt the panel and prop it against a rock at lunch.
Do I need a fuse between the panel and the charge controller?
Yes — a 15A inline fuse within 12 inches of the battery's positive terminal is mandatory. Many builders also add a second fuse on the panel side of the controller. ABYC standards and most overland insurance policies require it.
Is the Goal Zero Boulder 200 a better choice for overlanding than the 100?
If you have the roof real estate, yes. The Boulder 200 Briefcase is essentially two 100W panels hinged together and produces double the output for only modest extra weight. Mounting hardware is identical. The Boulder 100 is the right pick when your rack is narrower or you also want to deploy the panel free-standing occasionally. See our guide to the best rigid solar panels for rooftop tents.
How do I waterproof the cable pass-through on my roof rack?
Drill an oversized hole, deburr the edges, insert a rubber gland or grommet sized to your cable diameter, then seal both faces with marine sealant (Sikaflex 291 or 3M 4200, not bathroom caulk). For belt-and-suspenders insurance, add a drip loop below the entry point so water runs off rather than wicking inside.
Can I leave the Boulder 100 connected during winter storage?
Yes, and you probably should. A regulated trickle through your MPPT controller will keep the auxiliary battery topped up through the dark months. Just make sure the panel surface is clear of snow — sweep it after every storm or you will be parasitic-draining the battery instead of charging it.
Key Takeaways
- Choosing the right how to mount goal zero boulder 100 on rooftop tent for overlanding means matching capacity and output ports to your actual devices
- Always check actual watt-hours (Wh), not just watts — runtime depends on Wh, not peak output
- Also covers: goal zero boulder 100 rooftop tent mount
- Also covers: overland solar panel mounting
- Also covers: RTT solar panel install
- Compare price-per-Wh across models to find the best value for your budget