
Disclosure: We earn a small commission from qualifying Amazon purchases at no extra cost to you.
Top Picks


, , , . . , , .
, , , ,. .
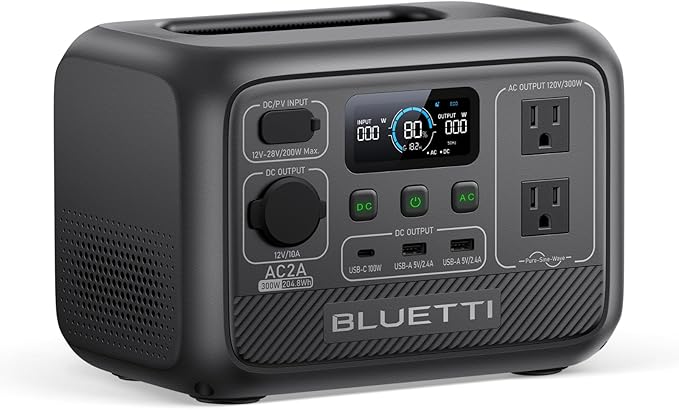
BLUETTI Elite 30 V2 Portable Power Station, 288Wh Solar Generator, 600W AC Outlets (Power Lifting 1500W), Fast Charging LiFePO4 Battery Backup for Camping, Road Trip, Outage (Solar
- 204Wh LFP battery
- 300W AC output
- Ultra-light at 7.7 lbs, 2-year warranty
. , , . , . . .
. . , , ...
, , . ,.
Featured recommendations from our review database — direct Amazon links below.
.....
| [..... | ...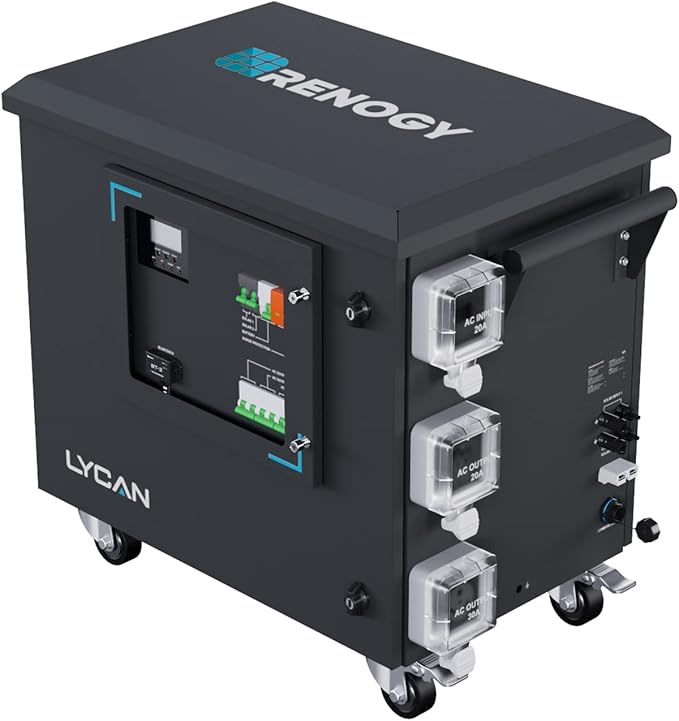
Renogy Solar Generator LiFePO4 Battery, 4.8kWh Expandable Power Station 3500W AC Output, IP55 Portable Deep Cycles Lithium Battery for Home Backup Emergency Off-Grid RV Camping, Ly
- 5120Wh wall-mountable LFP battery
- 3500W AC output
- Solar + grid dual charging
. . , . , . ...
, . , , ; , .
. , ., ..

. , .., . . .
, . , , . , .
. , .
, . , , . .
, , ,
... .. .
- , , .
- , . .
- , , .
- ., .
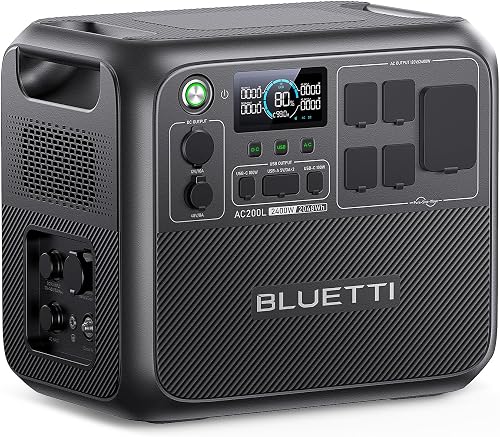
BLUETTI AC200L Portable Power Station, 2048Wh LiFePO4 Battery Backup, Expandable to 8192Wh w/ 4 2400W AC Outlets (3600W Power Lifting), 30A RV Output, Solar Generator for Camping, Home Use, Emergency
- 2048Wh LFP battery
- 2400W AC output with 6000W surge
- Dual AC + solar simultaneous charging
. . , , . .
. , . . , . . . . . , . . , . . .- . .
- . . .
- . .
- . . .
- . . , .
, ,. . , , , , . , , , .
, . ... .
, ... , , , .

?
,. ,..? , , . .
? , , . , .
? , . .
? , . , .
? . , .
? , . , .
. , , , . . .
, . .
Explore More Reviews
Check out our in-depth reviews, comparisons, and buying guides.