Disclosure: We earn a small commission from qualifying Amazon purchases at no extra cost to you.
Top Picks
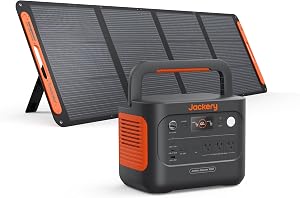
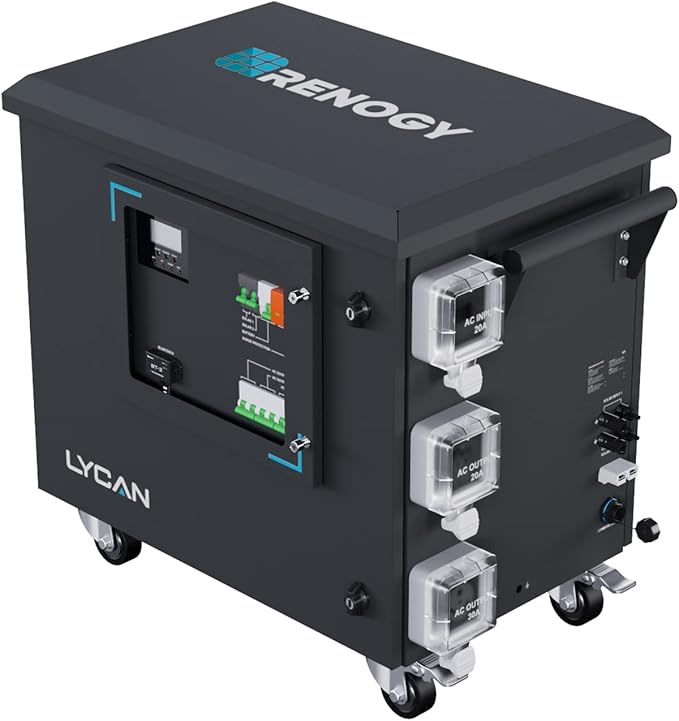
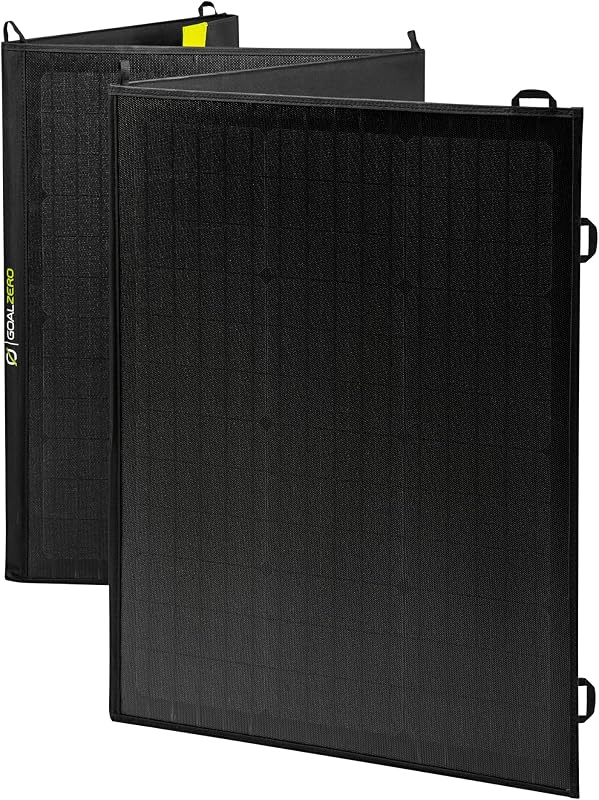
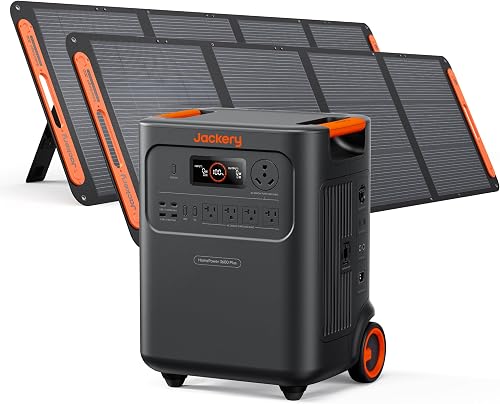
Renogy Solar Generator LiFePO4 Battery, 4.8kWh Expandable Power Station 3500W AC Output, IP55 Portable Deep Cycles Lithium Battery for Home Backup Emergency Off-Grid RV Camping, Ly
- 5120Wh wall-mountable LFP battery
- 3500W AC output
- Solar + grid dual charging
. . . .
. .
...
, , , .

. . . .
Featured recommendations from our review database — direct Amazon links below.
.
. . .
, , .
> ? . . . .
, , .
|
| , , , , . , ..
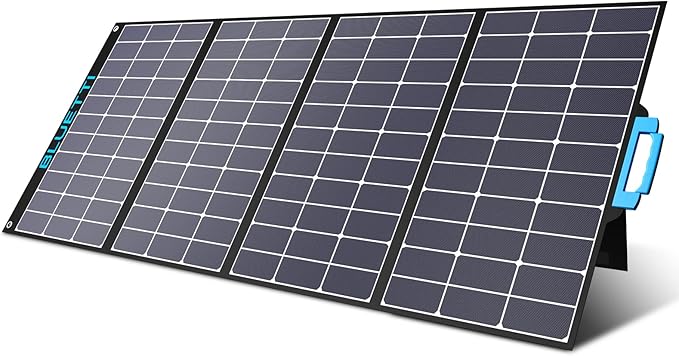
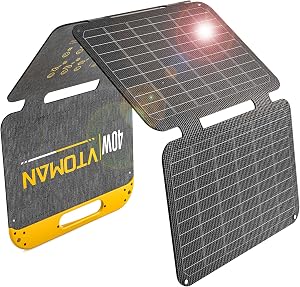
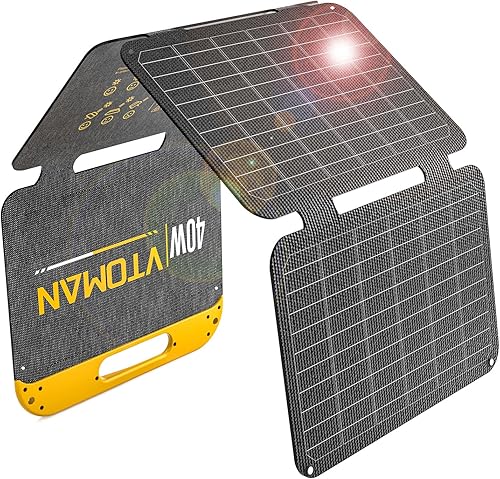
BLUETTI SP350 350W Solar Panel for AC180/AC200L/AC200MAX/AC200P/AC300/EB240 Portable Power Stations with Adjustable Kickstand, Foldable Solar Power Backup for Outdoor Camping,Off G
- 350W high-power monocrystalline cells
- 23.4% conversion efficiency
- ETFE laminated, splash-proof
,
<;.;;;;;;">
. , .
> , . , , , .
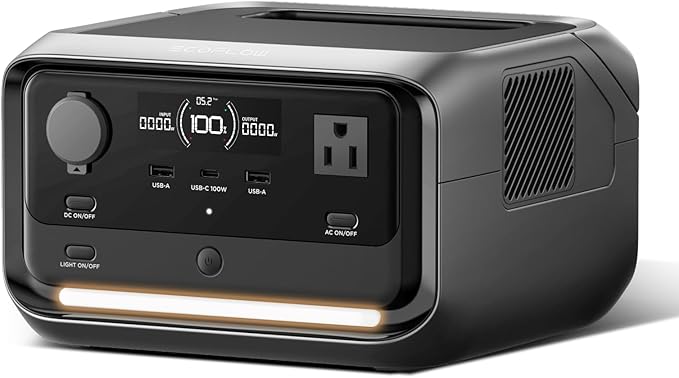
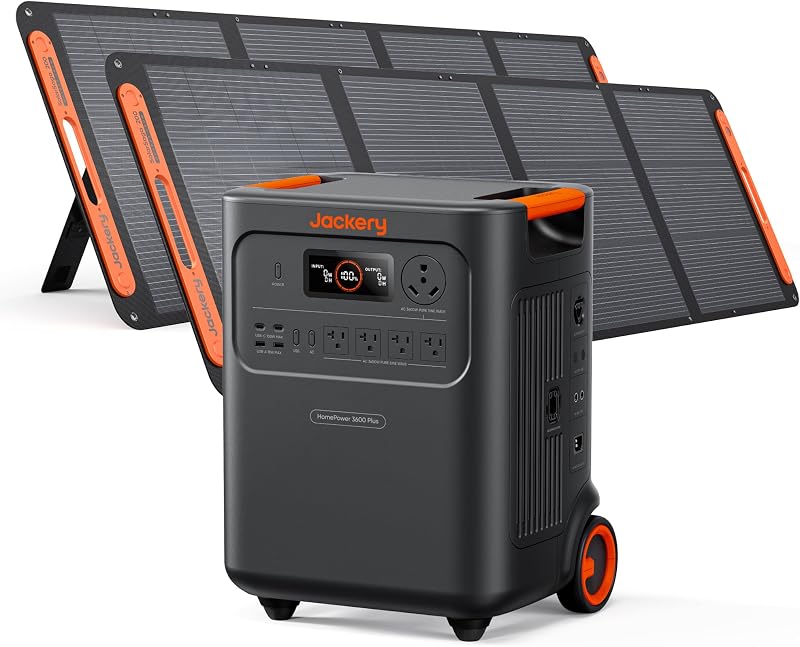
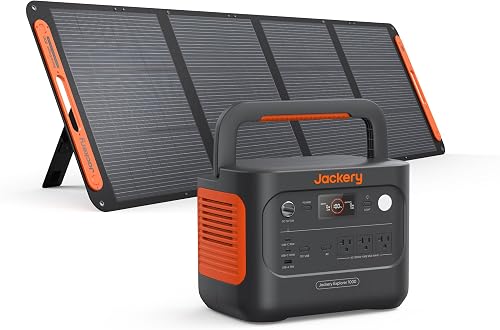
EF ECOFLOW Portable Power Station RIVER 3 Plus, 286Wh/12800mAh LiFePO4 Battery, 3 Up to 1200W AC Outlets, <10 MS UPS, Expandable to 858Wh, <30 dB Quiet, 1Hr Fast Charging Generator
- 600Wh LFP battery
- 600W AC output (1200W X-Boost)
- New 2026 model with smart app
.
. , .. .. .
. .., .
> . .. .. . .
, . , , .. .
, , . .
| ,
|. . . .
, , .
... , .
.
> , . . , , .
. .
, .. ? .. ."
, . , . ,
- ---
,
<;.;;;;;;">
. . .
. . . . . . . . . . . . . , . .- . .
- . .
- . . .
- .
- .
- . .
. . , , , .
, . . .
.
—
Explore More Reviews
Check out our in-depth reviews, comparisons, and buying guides.